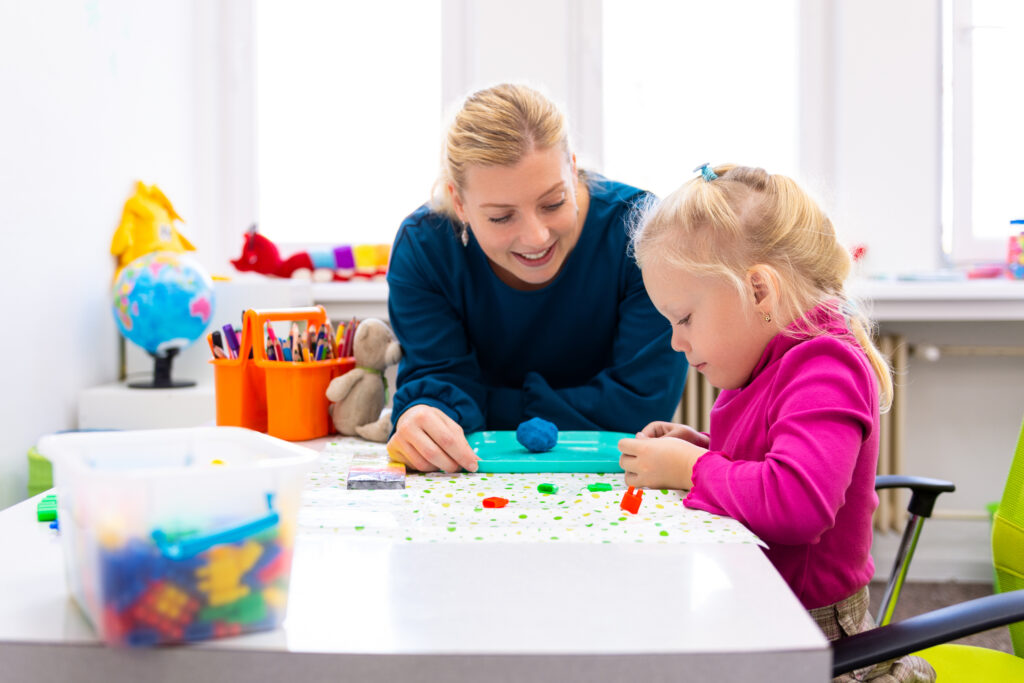

Summer is the perfect time to get creative with some fun, sensory-friendly crafts that can engage and entertain children with autism. These activities are designed to be simple, enjoyable, and beneficial for sensory development.
1. Sensory Bottle
- Materials: Clear plastic bottles, water, glitter, food coloring, small beads or sequins, glue
- Instructions:
- Fill a bottle halfway with water.
- Add glitter, beads, or sequins.
- Add a few drops of food coloring.
- Fill the rest of the bottle with water, leaving a small air gap.
- Secure the lid with glue.
- Benefits: Sensory bottles are visually stimulating and can help with calming and focus.
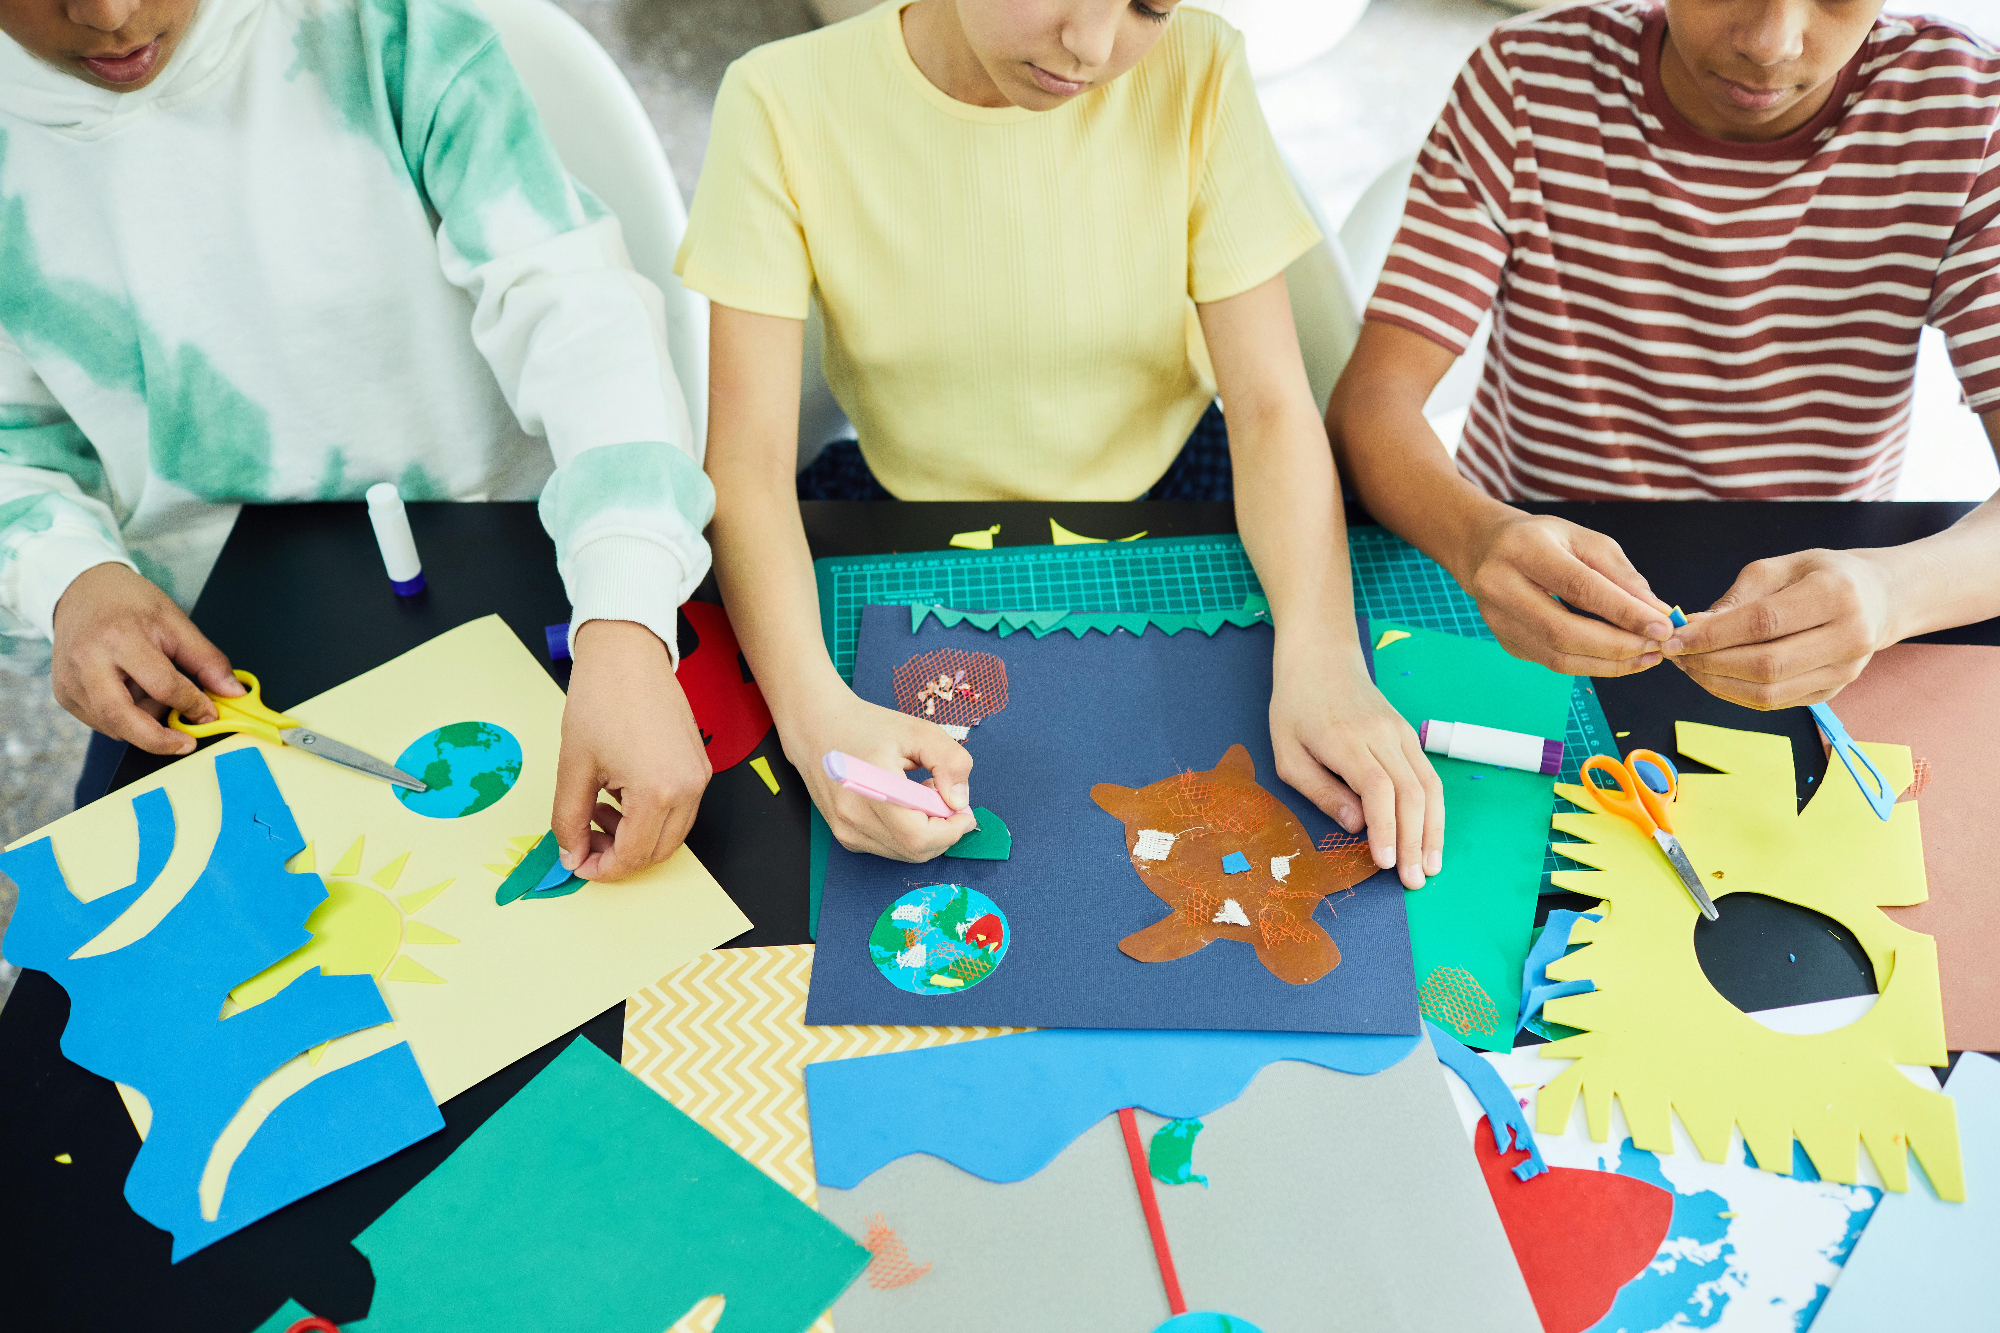
2. Textured Collages
- Materials: Various textured materials (felt, sandpaper, cotton balls, fabric scraps), glue, cardboard or canvas
- Instructions:
- Cut the materials into different shapes and sizes.
- Let your child arrange and glue the pieces onto the cardboard or canvas.
- Encourage them to feel the different textures as they work.
- Benefits: This craft helps with sensory exploration and fine motor skills.
3. Nature Crafts
- Materials: Leaves, flowers, twigs, pebbles, paper, glue
- Instructions:
- Go on a nature walk to collect various natural materials.
- Arrange and glue the collected items onto a piece of paper.
- Create patterns, animals, or abstract designs.
- Benefits: Encourages exploration and connection with nature, while also promoting creativity.
4. DIY Playdough
- Materials: Flour, salt, water, vegetable oil, food coloring, essential oils (optional)
- Instructions:
- Mix 1 cup flour, 1/4 cup salt, 1/2 cup water, and 1 tablespoon vegetable oil.
- Add food coloring and essential oils for scent, if desired.
- Knead until smooth. Store in an airtight container.
- Benefits: Playdough is great for tactile stimulation and can be calming to manipulate.
5. Bubble Wrap Painting
- Materials: Bubble wrap, paint, paper
- Instructions:
- Cut the bubble wrap into manageable pieces.
- Apply paint to the bubble wrap.
- Press the bubble wrap onto paper to create textured prints.
- Benefits: Provides a fun sensory experience with the popping sensation of the bubble wrap.
6. Rainbow Rice Sensory Bin
- Materials: Uncooked rice, food coloring, resealable bags, large plastic bin, small toys or scoops
- Instructions:
- Divide rice into separate bags.
- Add a few drops of food coloring to each bag, seal, and shake to distribute the color.
- Spread the rice on a baking sheet to dry.
- Once dry, pour the rice into the bin and add small toys or scoops.
- Benefits: Great crafts for sensory exploration, color recognition, and fine motor skills.
7. Paper Plate Fish
- Materials: Paper plates, scissors, paint or markers, googly eyes, glue
- Instructions:
- Cut a triangle out of a paper plate to create the fish’s mouth.
- Use the cut-out triangle as the tail, attaching it to the opposite end.
- Paint or color the fish, and add googly eyes.
- Benefits: Encourages creativity and can be a fun way to learn about sea life.
8. Handprint Sun Craft
- Materials: Yellow construction paper, scissors, glue, markers
- Instructions:
- Trace your child’s hand on yellow construction paper several times and cut them out.
- Arrange the handprints in a circle to create the sun’s rays.
- Cut out a circle for the sun’s center and decorate it with a face or patterns.
- Benefits: A fun and personal craft that can be used to discuss the weather or summer.
9. Feather Sensory Box
- Materials: Various types of feathers, a large box or bin
- Instructions:
- Fill the box with different feathers.
- Let your child explore the textures and colors.
- Benefits: Provides a soft, calming sensory experience and can be used to discuss animals and nature.
10. DIY Sun Catchers
- Materials: Transparent contact paper, tissue paper, scissors
- Instructions:
- Cut the contact paper into desired shapes.
- Let your child place pieces of tissue paper onto the sticky side.
- Seal with another piece of contact paper and hang in a window.
- Benefits: Brightens up any room and allows for creativity and color exploration.
Tips for Crafts with Children with Autism:
- Keep it Simple: Use simple instructions and limit the number of steps.
- Offer Choices: Allow your child to choose colors, materials, and shapes to encourage independence.
- Take Breaks: If your child gets overwhelmed, take breaks and return to the activity later.
- Celebrate Success: Praise your child’s efforts and creations to build confidence and encourage participation.
These crafts are designed to be fun, engaging, and beneficial for sensory development. Happy crafting!